Ok, so I’m really, really, really REALLY behind on stuff
lately. For those who have followed this blog more than a year, this is a
familiar song and dance.
lately. For those who have followed this blog more than a year, this is a
familiar song and dance.
But I’m trying to get caught up because next week will be all about the release
of The Bariatric Foodie Breakfast Book!
I’m so excited about that (and nervous).
But first we have some unfinished business to attend to. I
owe you TWO recipes that I demonstrated on social media. I’ll post one today,
the other tomorrow. First up, let’s talk pears!
owe you TWO recipes that I demonstrated on social media. I’ll post one today,
the other tomorrow. First up, let’s talk pears!
Have you ever had fruit in your refrigerator too long? It goes
through some stuff! It deepens in color, softens in texture and, in some cases,
begins to bruise to the touch. And there’s a point where you look at it,
remembering that you really did buy it for a purpose (you really did!) but the
fruit has gone past its ability to fulfill that purpose and it is all. Your.
Fault.
Ok, so maybe that’s a bit dramatic, but my main point here is that over-ripe
fruit can still have a place in your food plan! But first a few words:
- Over-ripe and rotten are NOT the same thing. You should be
able to tell the difference just by looking at the fruit but if there is any
doubt, cut a piece of fruit in half. If it is mostly still healthy inside with only a few soft/bruised spots, cut
those out and keep it moving. - However, note that over-ripe fruit is fruit whose sugars
have developed and intensified. That means it’s naturally sweeter than the day
it was picked and therefore when you prepare stuff with it, you’ll need to
adjust additions accordingly. - My ultimate rule for over-ripe fruit goes like a page from
the Johnnie Cochran playbook: “If in doubt, throw it out!”
So anyway. One day I was in the grocery store and noticed in
the produce section that they had the “last chance” bin out. That’s where the
produce folks package up fruits/veggies that are older and sell them for deep,
deep discounts. It is a well-known fact in my household that I have the physical
inability to resist this cart. I can. Not. Do it!
the produce section that they had the “last chance” bin out. That’s where the
produce folks package up fruits/veggies that are older and sell them for deep,
deep discounts. It is a well-known fact in my household that I have the physical
inability to resist this cart. I can. Not. Do it!
On the cart this day was a pack of 6 pears. Very, very ripe
pears. I bought them, endeavored to do something yummy with them, then put them
in the fridge.
pears. I bought them, endeavored to do something yummy with them, then put them
in the fridge.
And then…four days later…they were very, very VERY ripe
pears. When I have very, very, very ripe pears, I start thinking pear butter!
pears. When I have very, very, very ripe pears, I start thinking pear butter!
This probably isn’t true pear butter to pear butter
officianados (I wonder what they are called) but it was easy and can be used a
bunch of different ways.
officianados (I wonder what they are called) but it was easy and can be used a
bunch of different ways.
Nik’s Roasted Pear
Butter
Butter
Ingredients:
- 4-6 whole pears (Nearly any kind works, but the ones in the picture
are Bosk. Also note they don’t have to be over-ripe. They can be freshly
bought.) - 2 tsp. lemon juice
- Optional: ½ c. no-calorie sweetener (I used Splenda) or to
taste, 1 tsp. cinnamon or 1 tsp. apple pie spice and I’ll say below how you can
add protein, if you wish.
Directions:
Preheat your oven to 350 degrees.
Cut pears in half. (If they are over-ripe, this will be a “juicy”
process. You don’t have to peel or seed them at this point.)
process. You don’t have to peel or seed them at this point.)
Spray a cookie sheet down with nonstick cooking spray. Place
pears, cut side down, on the cookie sheet.
pears, cut side down, on the cookie sheet.
Roast your pears for 15-25 minutes (the more ripe they are,
the less time they’ll take to roast). When they come out of the oven they
should be easily pierced with a fork, the skin should have darkened considerably
(mine already had dark skins because they were over-ripe, but look for an olive
color).
the less time they’ll take to roast). When they come out of the oven they
should be easily pierced with a fork, the skin should have darkened considerably
(mine already had dark skins because they were over-ripe, but look for an olive
color).
Allow the pears to cool thoroughly before easily removing
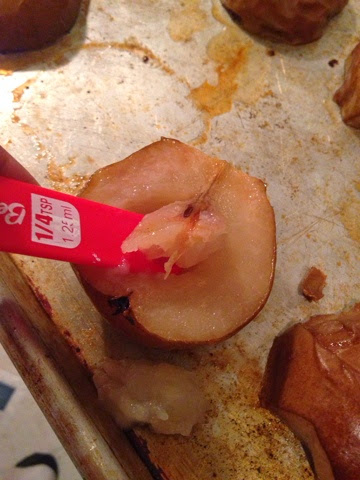
the skin with a spoon or paring knife. Flip them over and then use a teaspoon
to easily remove the seeds.
the skin with a spoon or paring knife. Flip them over and then use a teaspoon
to easily remove the seeds.
Place your roasted pears in a bowl (or the bowl of a food
processor if that’s what you’ll use to pulverize them) and add lemon juice,
sweetener (if using) and spice. If you are using protein powder, you’d add that
at this stage as well. I recommend using ¼ c. (or four tablespoons) of protein
powder for every four pears you use, but play around with it. You can use
vanilla, unflavored or any other kind you like!
If using a food processor, pulverize your pears until they
reach your desired consistency (they can be chunky, they can be smooth…go with
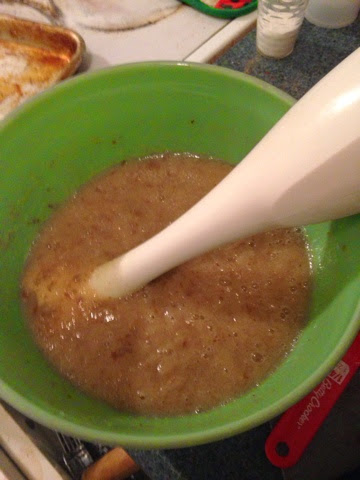
what you like best!). I don’t have a food processor so I used an immersion
blender and did the same.
reach your desired consistency (they can be chunky, they can be smooth…go with
what you like best!). I don’t have a food processor so I used an immersion
blender and did the same.
Chill until ready to use.
HOW TO USE
Well for me I like this straight out of the bowl but I did
add some to some protein oatmeal and the kids have been noshing on it as well.
I also put some aside and added some black chia seeds, stuck it in fridge (so
that the seeds could fill up with water. Post-ops should NOT consume un-hydrated
chia seeds as they take in fluid and expand in the gut in their un-hydrated
form). What I ended up with is this:
It’s interesting. It tastes good, has a little bit of a
crunch, it thickened the whole deal and it gave it an almost…dare I say…carbonated
mouthfeel. So…if you’re interested give that a try.
crunch, it thickened the whole deal and it gave it an almost…dare I say…carbonated
mouthfeel. So…if you’re interested give that a try.
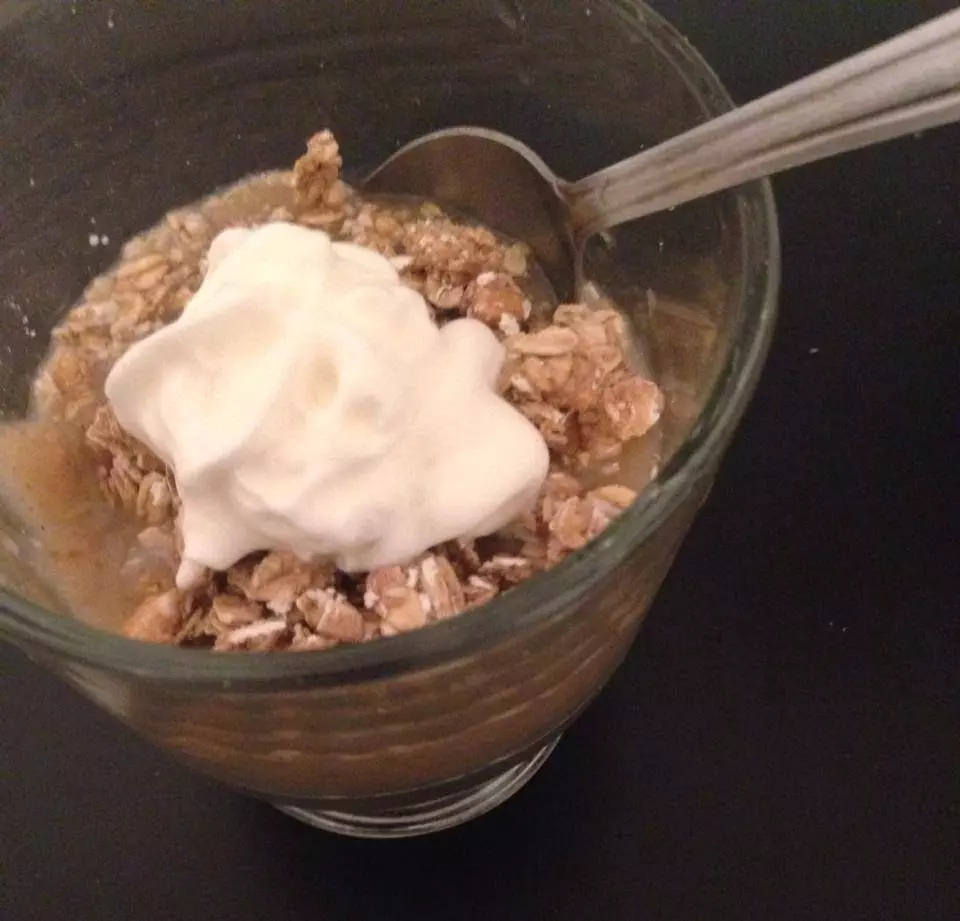
I also used it to make the dessert at the top of the post which I called “deconstructed pear crumble.” It’s basically 1/3 c. of the pear butter, about 1/4 c. of Bear Naked protein granola (I also used Fiber One another time but did not photo that) and a little poof of whipped cream. Yummy!
 Bariatric Foodie Play with your food


I made this tonight after making a special trip to Sprouts for pears. O MY LANTA!!! So deeelish! I used pumpkin pie spice instead of apple pie spice. It made quite a bit, so I put a container in the freezer, and had some for dessert with unflavored protein and a sprinkle of Grape Nuts. I can see this becoming a go-to for me . Thanks for sharing!
Sue
Any idea how long this will keep in the fridge??
Kristin: In general anything made with fruit that does not have preservatives is good about a week or until it starts to smell/taste funny, whichever happens first. Hope that helps!